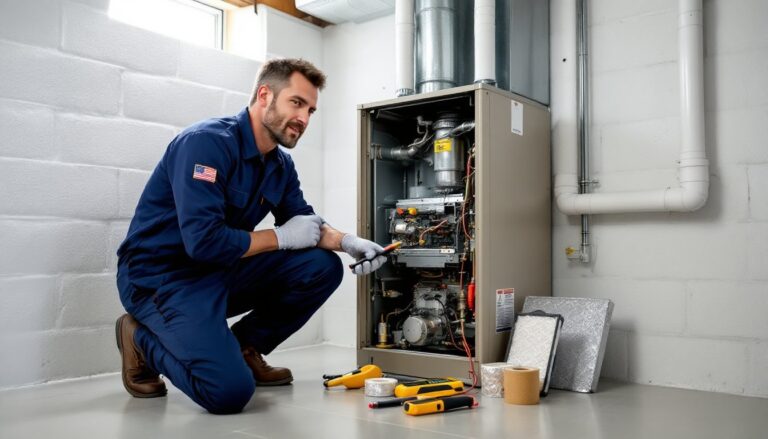
A KitchenAid stand mixer is a workhorse appliance that can last decades, if it’s properly maintained. Most owners clean the bowl and beater after each use, but the mixer head, planetary assembly, and internal gears need attention too. Neglect those parts, and you’ll end up with sluggish performance, strange noises, or a burnt-out motor. This guide covers the cleaning, lubrication, and troubleshooting steps that keep a mixer running smoothly. Whether someone owns a Classic, Artisan, or Professional model, these practices apply across the lineup and take minimal time to carry out.
Table of Contents
ToggleKey Takeaways
- Regular KitchenAid mixer maintenance prevents motor failure, sluggish performance, and costly repairs by keeping the planetary gear system properly lubricated and free of food residue.
- Clean the mixer bowl, beater, and attachments after every use, and wipe down the mixer head with a damp cloth to prevent dried batter and flour buildup that can jam moving parts.
- Regreasing the planetary assembly every five to ten years is essential—watch for grinding noises, visible grease leaks, or poor mixing performance as signs it’s time to lubricate the gears.
- Check beater-to-bowl clearance monthly and adjust the height screw to maintain approximately 1/8 inch spacing, which reduces motor strain and improves mixing efficiency.
- Store your KitchenAid mixer on a countertop in a dust-free, climate-controlled space, and keep attachments separate to prevent stress on the attachment hub and internal components.
Why Regular Maintenance Matters for Your KitchenAid Mixer
KitchenAid mixers use a planetary gear system that requires grease to operate without friction. Over time, that grease breaks down from heat and use, especially in models that handle heavy dough loads. Without periodic regreasing, metal-on-metal contact accelerates wear and can strip gears.
Food residue is the other enemy. Flour dust, sugar, and batter creep into seams around the attachment hub and speed control dial. Left unchecked, dried residue gums up moving parts, making the tilt head harder to raise or the bowl-lift lever stiff. Cleaning those zones after messy batches prevents buildup that’s harder to remove later.
Proper maintenance also preserves resale value. A mixer that runs quietly, operates smoothly, and shows no caked-on grime commands a higher price on the secondhand market. More importantly, routine care prevents mid-recipe failures, nothing derails a project faster than a mixer that stalls under load or develops a grinding noise during the final knead.
Essential Cleaning Practices After Every Use
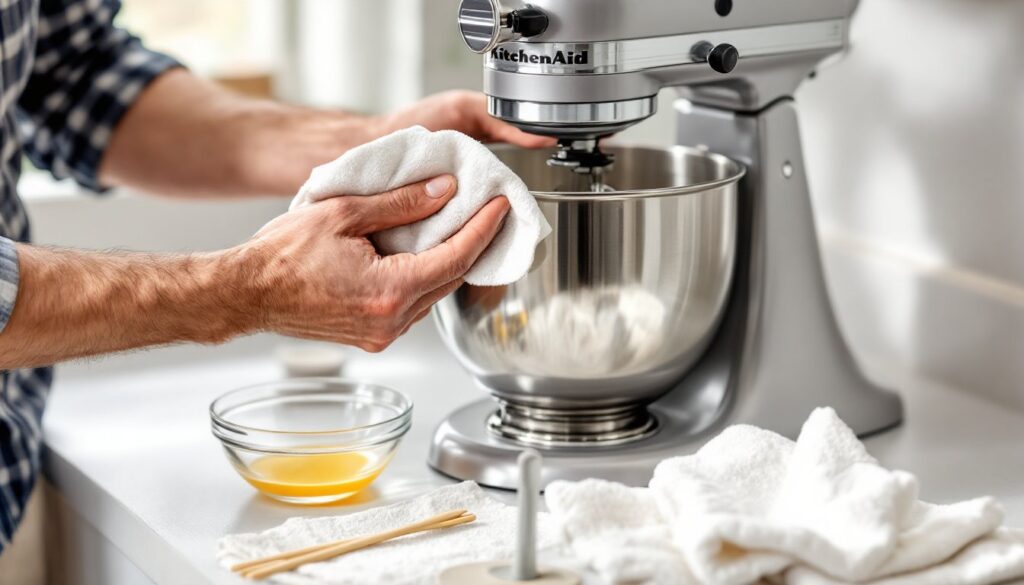
After each mixing session, remove the bowl, beater, and any attachments. Wash them in warm, soapy water or run them through the dishwasher if the manufacturer labels them as dishwasher-safe (most stainless bowls and coated beaters are: uncoated aluminum bowls may discolor). Dry all parts thoroughly before reassembling to prevent water spots and corrosion.
Wipe down the mixer head and motor housing with a damp cloth. Pay special attention to the underside of the head where batter splatters collect. For sticky residue, use a non-abrasive scrub sponge or a paste of baking soda and water. Avoid spraying cleaner directly onto the mixer: moisture can seep into the motor vents or speed control panel.
Clean the attachment hub by removing any dried dough or debris with a damp cloth. If flour has packed into the hub’s grooves, a wooden toothpick works well to dislodge it without scratching the metal. Wipe the bowl support pins and height-adjustment screw (on tilt-head models) to keep the mechanism free of gunk. This two-minute post-use routine prevents the need for aggressive scrubbing later and keeps all moving parts responsive.
Deep Cleaning Your Mixer: What to Do Monthly
Once a month, or after heavy use, give the mixer a more thorough cleaning. Unplug the unit and remove all attachments. Use a microfiber cloth dampened with white vinegar to clean the entire exterior, including the base, handle, and underside of the motor housing. Vinegar cuts grease and dried-on sugar without leaving a chemical residue.
Inspect the speed control dial and tilt-release lever for buildup. Dust and flour can accumulate in the grooves around these controls, making them harder to turn. A cotton swab dipped in isopropyl alcohol works well for detail cleaning tight spaces. Let the alcohol evaporate completely before plugging the mixer back in.
Check the beater-to-bowl clearance while the mixer is unplugged. Attach the flat beater and lower it into an empty bowl. The beater should clear the bowl’s bottom by approximately 1/8 inch, close enough to scrape effectively but not so close that it strikes the bowl. If the clearance is off, adjust the height screw on tilt-head models (located under the motor head) or the bowl-lift adjustment on bowl-lift models. Turn the screw a quarter-turn at a time, testing clearance between adjustments. Proper clearance reduces strain on the motor and improves mixing efficiency, maintenance practices that extend the appliance’s working life.
Lubricating the Gears: When and How to Do It
KitchenAid mixers ship with food-grade grease in the planetary assembly and gearbox. Under normal residential use, this grease lasts five to ten years. Signs that regreasing is due include a grinding or whirring noise, visible grease leaking from the attachment hub, or the mixer struggling with tasks it previously handled easily.
Regreasing requires partial disassembly. Safety first: unplug the mixer and remove the attachment hub cover (typically held by a single screw). On tilt-head models, this exposes the planetary assembly. Use a plastic putty knife or old credit card to scrape out the old grease, avoid metal tools that can scratch aluminum parts. Wipe the cavity clean with a lint-free cloth.
Apply 4 ounces of KitchenAid-approved grease (or a food-safe, non-separating substitute like Super Lube) to the gears, spreading it evenly with a gloved finger or small spatula. Reassemble the hub cover, then run the mixer on Speed 2 for two minutes without a load to distribute the grease. Wipe away any excess that seeps out.
Bowl-lift models require additional steps to access the gearbox, and some users prefer to take those units to an authorized service center for regreasing. If someone is comfortable with mechanical tasks and has basic hand tools, the process is manageable. Otherwise, professional service every seven to ten years is a reasonable alternative and typically costs $50–$100, depending on region.
Troubleshooting Common Performance Issues
Mixer runs but the beater doesn’t turn: The planetary gear may have stripped teeth, or the attachment isn’t fully seated. Remove the beater and reattach it, pushing up firmly and twisting a quarter-turn until it locks. If the problem persists, inspect the gear assembly for damage. Replacement gears are available online and can be installed at home with basic tools, though gear failure usually signals that the mixer was overloaded or under-greased.
Motor overheats or smells like burning: This often happens when mixing heavy dough above the recommended capacity (most Artisan models handle dough for two standard loaves: Professional models handle up to four). Let the motor cool for 30 minutes, then resume at a lower speed. If overheating occurs with light loads, the motor may need professional inspection, continued use can damage windings.
Speed control fluctuates or doesn’t respond: Dust and moisture inside the speed control housing can interfere with the contact points. Turn off and unplug the mixer, then gently work the speed lever through its full range several times to dislodge debris. If the issue continues, the control board or speed lever may need replacement, a repair that requires partial disassembly and is best handled by a service technician.
Excessive noise or vibration: First, confirm that the mixer sits on a stable, level surface. Unlevel countertops cause the bowl to wobble and the motor to work harder. If the noise is a metallic grinding, check the beater-to-bowl clearance and inspect for foreign objects in the bowl or attachment hub. Persistent grinding after these checks suggests worn gears that need replacement.
Storage Tips to Extend Your Mixer’s Lifespan
Store the mixer on a countertop or in a cabinet where it won’t be jostled or knocked over. Countertop storage encourages regular use, which keeps internal grease distributed and seals from drying out. If cabinet storage is necessary, place the mixer on a stable shelf and avoid stacking items on top of it, dropping a heavy pot onto the motor housing can crack plastic components or misalign internal parts.
Keep the mixer covered with a cloth cover or use the original box if space allows. Dust is abrasive and works its way into moving parts over time, especially in open kitchen layouts where airborne particles from cooking settle on appliances. A cover also prevents accidental spills from reaching the motor housing.
Store attachments separately in a drawer or bin, not on the mixer. Leaving a heavy dough hook attached for weeks can stress the attachment hub and distort the locking mechanism. Organize attachments in a labeled container so they’re easy to locate when needed. For long-term storage, such as a vacation home mixer used only seasonally, apply a thin coat of food-grade mineral oil to bare metal parts (like the dough hook shaft) to prevent corrosion, then wipe it off before the next use.
Avoid storing the mixer in unheated spaces like garages or sheds. Extreme temperature swings can cause plastic parts to become brittle and lubricants to separate or harden. Room temperature, low-humidity environments are ideal and align with the conditions modern appliances are designed to tolerate.
Conclusion
A well-maintained KitchenAid mixer delivers decades of reliable service with minimal intervention. Cleaning after each use, deep cleaning monthly, and regreasing every few years keeps the gears, motor, and controls in top shape. Address performance issues early, odd noises and sluggish operation are warnings, not quirks to ignore. With these practices, the mixer remains a dependable kitchen tool rather than a repair project.